There’s nothing quite like the joy of hiking through nature, but blisters can quickly turn an enjoyable trek into a painful experience. Whether you’re a seasoned hiker or a beginner, blisters are a common issue caused by friction, moisture, and pressure on the feet. Fortunately, there are several strategies you can use to prevent blisters and keep your hikes blister-free. Here’s how to protect your feet on your next adventure.
1. Choose the Right Footwear
The most important step in blister prevention starts with selecting the right hiking boots or shoes. Here’s what to consider:
- Proper Fit: Make sure your boots fit snugly but aren’t too tight. Your feet shouldn’t slide around inside the shoe, as excessive movement leads to friction.
- Break Them In: New boots can be stiff and prone to causing blisters. Break them in by wearing them on shorter walks or around the house before embarking on a long hike.
- Opt for Breathable Materials: Look for shoes that allow airflow to keep your feet cool and dry, reducing the chance of blisters caused by moisture buildup.
Read more: How to Choose Hiking Boots
2. Wear Moisture-Wicking Socks
Socks play a crucial role in keeping your feet blister-free. Here’s what to look for:
- Moisture-Wicking Fabrics: Choose socks made of synthetic materials like merino wool or polyester blends. These fabrics pull moisture away from the skin, keeping your feet dry.
- Avoid Cotton: Cotton absorbs moisture, which can lead to damp, blister-prone feet. Stick to technical hiking socks that are designed to keep moisture at bay.
- Double Layering: Wearing two pairs of socks (thin liners under a thicker pair) can help reduce friction by allowing the layers to rub against each other rather than your skin.
3. Use Insoles for Extra Comfort and Protection
Insoles can be a game-changer when it comes to blister prevention. Here’s how they help:
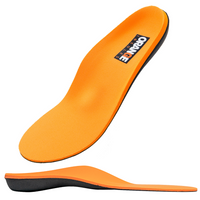
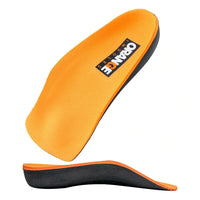
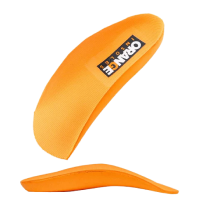
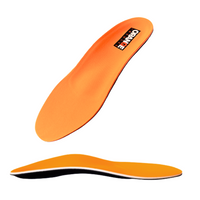
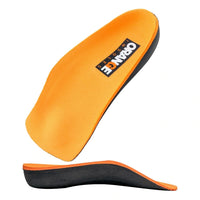
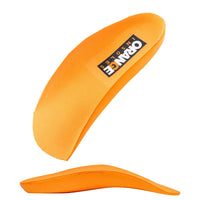
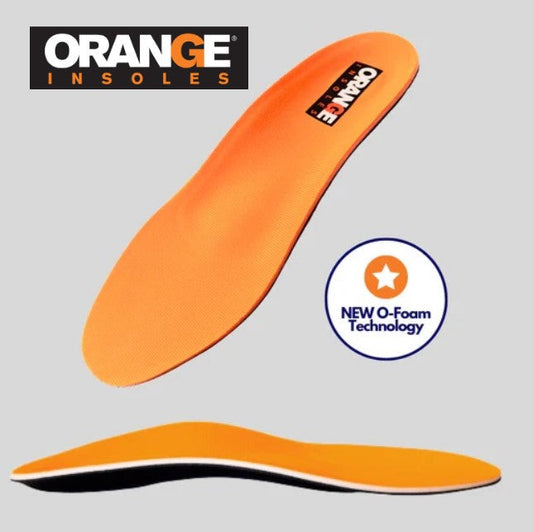
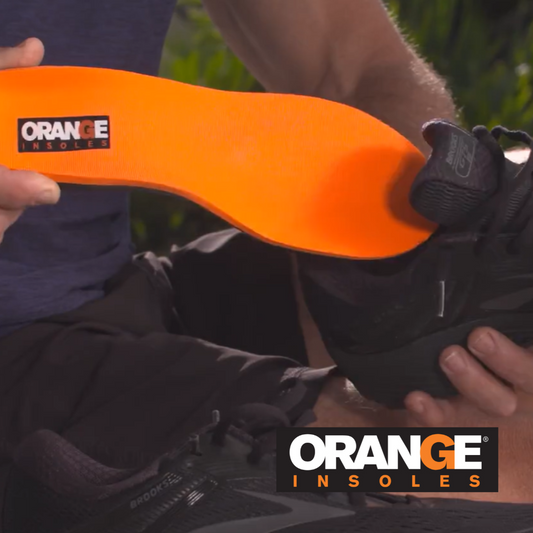
- Reduced Friction: Insoles, like Orange Insoles, help reduce the movement of your foot inside your shoe, minimizing friction, which is a key cause of blisters.
- Better Fit: If your boots feel slightly loose, insoles can improve the fit by providing extra cushioning and support, which reduces the chance of your foot sliding.
- Pressure Distribution: Insoles also help distribute pressure evenly across your feet, reducing hot spots and preventing the formation of blisters in high-friction areas.
Read more: Insoles for Hiking Boots
4. Keep Your Feet Dry
Moisture is a major contributor to blisters, so keeping your feet dry is essential:
- Foot Powder: Sprinkle foot powder inside your socks or boots to absorb excess moisture and keep your feet dry.
- Change Socks Regularly: If you’re on a long hike, bring extra pairs of socks and change them when your feet start to feel damp. This can prevent moisture buildup and friction.
- Let Your Feet Air Out: During breaks, take off your boots and socks to let your feet dry and cool down.
5. Pre-Treat Problem Areas
If you know certain areas of your feet are prone to blistering, pre-treat them before hitting the trail:
- Blister Tape: Apply moleskin, medical tape, or blister pads to vulnerable spots like your heels or toes before you start hiking. These create a protective layer that reduces friction.
- Use Blister Balm: Anti-friction balms can be applied to problem areas to reduce friction and prevent chafing.
6. Lace Your Boots Properly
Proper lacing techniques can prevent blisters by reducing foot movement inside your boots:
- Heel Lock: Use a "heel lock" or "lace lock" technique to keep your foot securely in place, reducing heel slippage and friction.
- Don’t Overtighten: Make sure your boots are snug but not too tight, as overly tight lacing can create pressure points and cause discomfort.
7. Pay Attention to Hot Spots
Hot spots are areas on your feet that start to feel warm or irritated before a blister forms. As soon as you notice a hot spot, stop and take action:
- Apply Blister Tape: Cover the area with tape or moleskin to prevent further friction.
- Adjust Socks and Boots: Make sure your socks aren’t wrinkled or bunched up, and check that your boots are laced properly.

8. Pack a Blister Kit
Even with the best precautions, blisters can still happen. Always pack a blister kit in your hiking backpack with essentials like:
- Blister Pads or Bandages: These provide cushioning and protection to help relieve pressure on the blister.
- Moleskin: This is a great tool for preventing and treating blisters by protecting irritated skin.
- Antibiotic Ointment: To prevent infection if a blister bursts, apply antibiotic ointment and cover the area with a bandage.
What to Do if You Get a Blister While Hiking
If you do get a blister during your hike, follow these steps:
- Stop Hiking: As soon as you feel discomfort or notice a blister forming, stop and take care of it.
- Clean and Cover the Area: Clean the area with an antiseptic wipe, then apply a blister pad or bandage to protect it.
- Reduce Friction: Try adjusting your boots or adding tape to reduce pressure on the blistered area.
Hikes Don’t Have to Be Painful
Blisters don’t have to ruin your hiking adventure. By choosing the right gear, using moisture-wicking socks, adding insoles, and taking care of your feet along the way, you can hike comfortably and avoid painful blisters. Follow these simple steps to ensure your feet stay happy on the trail, so you can focus on enjoying the great outdoors.
